Picture this: You’ve just got your Cox Homelife Hub, ready to transform your home into a smart, secure haven. But there’s a hitch – connecting it to WiFi feels like solving a Rubik’s Cube blindfolded. Frustrating, right? You’re not alone in this digital dilemma.
How to connect Cox Homelife Hub to WiFi? To connect your Cox Homelife Hub to WiFi, first ensure your WiFi is active and within range. On the Hub, press the ‘Settings’ button, select ‘Network’, and then ‘WiFi’. Choose your network from the list, enter the password, and voilà – your Hub is connected and ready to smarten up your home!
Many face this tech tangle, struggling to find a clear, straightforward guide. Fear not! The solution is simpler than you think, and I’m here to walk you through it, step by easy step.
See Also: How to Connect Canon Pixma MG2522 Printer to WiFi?
Contents
Understanding Cox Homelife Hub
What is Cox Homelife Hub?
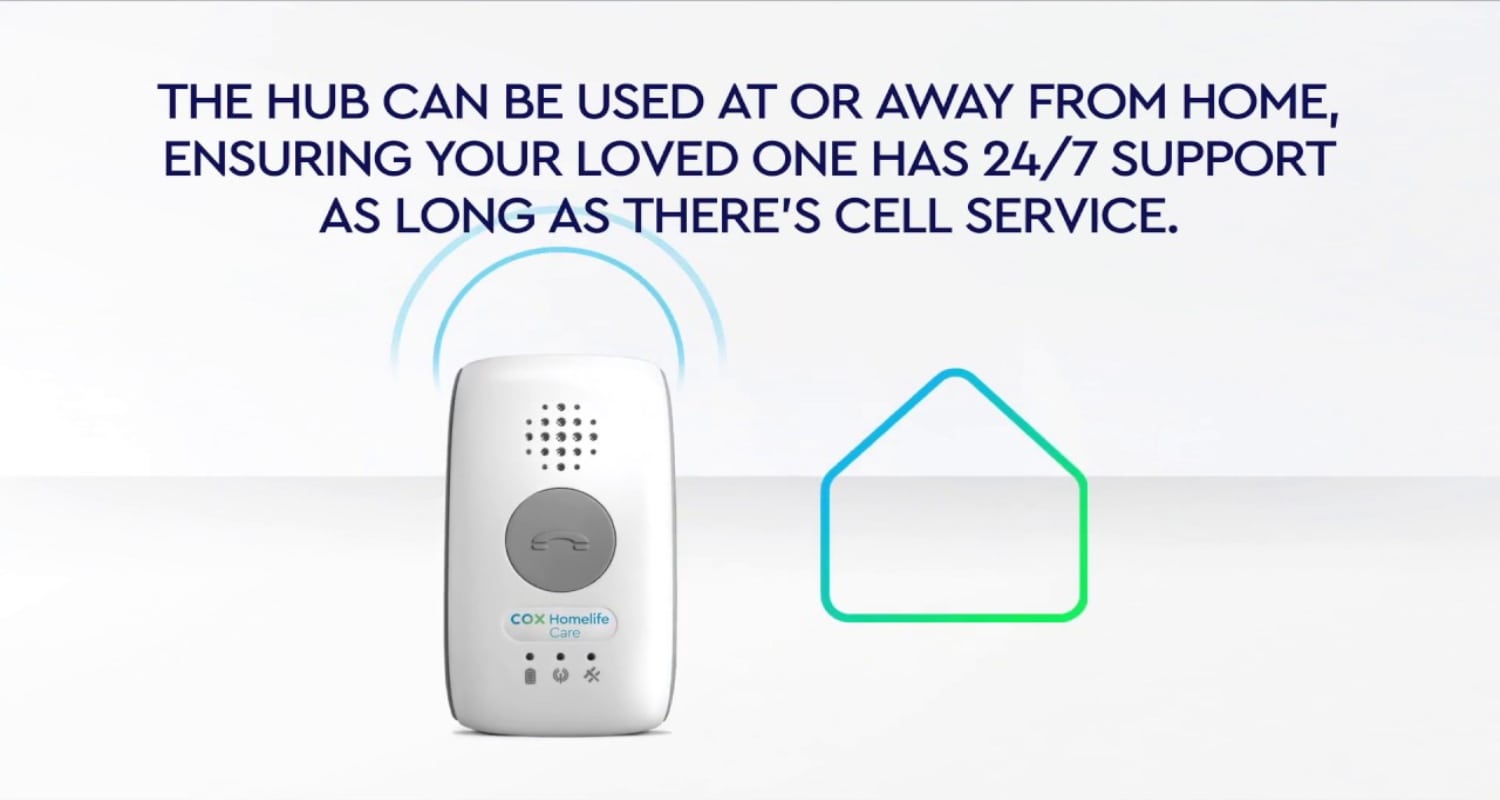
The Cox Homelife Hub is like the brain of your smart home. It’s a sleek, compact device that acts as the central control point for all your smart home devices. Think of it as a digital conductor, orchestrating the symphony of your home’s smart gadgets. From security cameras to thermostats, the Homelife Hub brings them all together under one roof, or in this case, one app.
Key Features and Benefits
- Centralized Control: The Homelife Hub unifies your smart home devices, allowing you to manage everything from a single, user-friendly interface. This means less juggling between apps and more streamlined control.
- Enhanced Security: With the Hub, your home’s security is always at your fingertips. It connects to door and window sensors, motion detectors, and cameras, offering real-time alerts and the ability to check in on your home, no matter where you are.
- Customizable Automation: Set up personalized scenarios. Imagine your lights turning on as the sun sets or your thermostat adjusting automatically to keep your home comfortable. The Homelife Hub makes it all possible.
- Energy Efficiency: By connecting smart thermostats and lights, the Hub helps optimize your home’s energy usage, potentially saving you money on utility bills.
- Easy Integration: The Hub is designed to be compatible with a wide range of smart home devices, making it a versatile addition to any tech-savvy household.
- Reliability: With its robust build and constant software updates, the Homelife Hub is a reliable cornerstone for your smart home ecosystem.
In essence, the Cox Homelife Hub isn’t just a device; it’s a gateway to a smarter, more efficient, and secure home. It’s about taking the leap into the future of home management, effortlessly and intelligently.
See Also: How to Connect Bose Soundbar to WiFi: Expert Recommendations
Preparation for Setup
Before diving into the digital deep end with your Cox Homelife Hub, let’s gear up. Proper preparation is key to a smooth setup.
Essential Items Needed for the Setup
- Cox Homelife Hub: Obviously, the star of the show.
- Stable WiFi Connection: Ensure your home WiFi is up and running.
- Smartphone or Tablet: You’ll need this to access the Cox Homelife app.
- Power Adapter: Included with your Hub, to power it up.
- Your WiFi Network Name and Password: Keep these handy for a hassle-free connection.
Preliminary Steps Before Connecting to WiFi
- Location, Location, Location: Place your Hub in a central location in your home, away from large metal objects and appliances that could cause interference.
- Power Up: Connect the Hub to a power source using the provided adapter and wait for it to boot up.
- App Installation: Download the Cox Homelife app on your smartphone or tablet. This is your control panel for the entire setup process.

- Account Setup: If you haven’t already, create an account in the Cox Homelife app. This will be your gateway to managing your Hub and connected devices.
With these items checked off your list, you’re all set to bring your Cox Homelife Hub online and step into the realm of smart living!
See Also: How to Connect Blink Sync Module to WiFi: Detailed Guide
Step-by-Step Guide to Connect to WiFi
Connecting your Cox Homelife Hub to your home WiFi network is like piecing together a simple puzzle. Let’s break it down into manageable steps:
- Power On: Ensure your Cox Homelife Hub is plugged in and powered on. You’ll know it’s ready when you see the indicator lights.
- Open the Cox Homelife App: On your smartphone or tablet, launch the Cox Homelife app. Make sure you’re logged in.
- Access Settings: In the app, navigate to the settings menu. This is typically represented by a gear icon.
- Select Network Setup: Within settings, find and select the option for network setup or similar wording.
- Choose WiFi Network: The app will display a list of available WiFi networks. Select your home network from this list.
- Enter WiFi Password: When prompted, enter your WiFi network’s password. Double-check for accuracy; those pesky typos are often the culprits of connection woes.
- Wait for Connection: After entering the password, give your Hub a moment to connect to the WiFi. Patience is key here.
- Confirmation: Once connected, you should receive a confirmation on the app. Your Hub’s indicator lights may also change, signaling a successful connection.
Troubleshooting Common Issues During Setup
- WiFi Network Not Found: If your network isn’t showing up, ensure your Hub is within range of your router. Sometimes, a simple reboot of your router can also refresh the network list.
- Incorrect Password Error: Re-enter your WiFi password carefully. Remember, it’s case-sensitive.
- Connection Timeout: If the connection process is taking too long, restart both your Hub and router. Also, check if other devices can connect to your WiFi to rule out network issues.
- App Not Connecting to Hub: Ensure your smartphone or tablet is connected to the same WiFi network as the Hub. If issues persist, try reinstalling the Cox Homelife app.
- Indicator Lights Not Behaving as Expected: Refer to the Hub’s manual. Different light patterns can indicate specific issues, from connectivity problems to hardware malfunctions.
- Cox Camera Setup: If you’re setting up a Cox camera, ensure it’s within range of the Homelife Hub and your WiFi router for a smooth connection. If you encounter issues, reset the camera and attempt the setup process again through the Cox Homelife app.
By following these steps and troubleshooting tips, you should be well on your way to having your Cox Homelife Hub connected and functioning as the heart of your smart home. Remember, every gadget has its quirks, but with a bit of patience and persistence, you’ll be mastering your smart home setup in no time!
See Also: How to Connect Bebird W3 to WiFi: Step-by-Step Instructions
Optimizing Your Cox Homelife Experience
Getting your Cox Homelife Hub up and running is just the start. To truly harness its potential, placement and maintenance are key. Let’s dive into how you can optimize your Homelife experience for peak performance.
Tips for Placement and Maintenance of the Homelife Hub
- Camera Placement for Optimal Performance: When positioning your Cox Homelife HD camera, choose locations with a clear field of view and minimal obstructions. This ensures high-quality video capture and effective monitoring. Also, consider areas with strong WiFi signals to maintain a stable connection for uninterrupted HD streaming.
- Strategic Placement: The Hub should be centrally located in your home. Avoid corners and closets. Open spaces are ideal, as walls and large objects can block or weaken the signal.
- Keep It Cool: Electronic devices don’t like to get hot. Ensure your Hub is in a well-ventilated area, away from direct sunlight and heat sources.
- Dust It Off: Regularly dust your Hub. Accumulated dust can lead to overheating and reduced efficiency.
- Software Updates: Keep your Hub’s software up to date. Updates often include performance improvements and security patches.
Ensuring the Best Connectivity and Performance
- Strong WiFi Signal: If your WiFi is weak where the Hub is located, consider a WiFi extender or moving your router closer to the Hub.
- Limit Interference: Keep your Hub away from other electronic devices that can cause interference, like microwaves, cordless phones, and baby monitors.
- Regular Reboots: Occasionally rebooting your Hub and router can clear out bugs and improve performance.
- Network Check: Periodically check your home network’s speed and health. Slow internet speeds can affect your Hub’s performance.
- Use Ethernet If Possible: For the most reliable connection, use an Ethernet cable to connect your Hub directly to the router.
By following these tips, you can ensure that your Cox Homelife Hub operates at its best, providing a seamless and efficient smart home experience. Remember, a little attention to the details of placement and maintenance can go a long way in enhancing the overall performance and longevity of your smart home hub.
See Also: How to Connect Alexa to Bluetooth Speaker Without WiFi?
Advanced Features and Customization
Once you’re comfortable with the basics of your Cox Homelife Hub, it’s time to explore the advanced settings and customization options that can truly tailor your smart home experience.
Exploring Advanced Settings and Customization Options
- Scene Creation: Dive into the world of ‘Scenes’ in your Homelife app. Here, you can program the Hub to trigger multiple actions with a single command. For instance, a ‘Good Night’ scene could lock your doors, turn off lights, and adjust the thermostat, all at once.
- Custom Alerts: Set up custom alerts for different devices. Receive notifications for specific events, like when a door is opened or a motion sensor is triggered, adding an extra layer of security and awareness to your home.
- Voice Control Integration: Pair your Hub with voice assistants like Amazon Alexa or Google Assistant. This allows for hands-free control, making it easier to manage your smart home devices with simple voice commands. For instance, integrating your Cox Homelife camera into this system enhances your home security, allowing you to monitor your home environment effortlessly.
- Automation Schedules: Automate daily routines by setting schedules. Have your coffee maker turn on at a certain time each morning or your lights dim as bedtime approaches.
Integrating with Other Smart Home Devices
- Compatibility Check: Ensure the devices you want to integrate are compatible with the Cox Homelife system. Most major smart home brands work seamlessly.
- Unified Control: Once integrated, control all your smart devices from the Cox Homelife app. This centralization simplifies managing your home’s smart ecosystem.
- Experiment with Interactions: Explore how different devices can interact. For example, your smart lights can turn on automatically if your security camera detects motion outside.
- Regular Updates: Keep all your devices, including the Hub, updated to ensure smooth interoperability and access to the latest features.
- Community Forums and Support: Utilize Cox’s support channels and community forums for tips on integration and making the most out of your smart home setup.
By delving into these advanced features and customization options, you can elevate your Cox Homelife Hub from a mere gadget to a powerful tool that enhances your lifestyle, security, and home management. The possibilities are vast, and with a bit of creativity, you can create a smart home environment that’s uniquely yours.
See Also: How to Connect AiWit Doorbell to WiFi: Comprehensive Tutorial
Troubleshooting and Support
Even the most tech-savvy among us can hit a snag with smart home technology. Here’s a quick guide to troubleshooting common issues with the Cox Homelife Hub and how to access customer support when you need extra help.
Common Issues and Their Solutions
- Connectivity Problems: If your Hub is having trouble staying connected to WiFi, check the strength of your WiFi signal near the Hub. Resetting your router and Hub can also resolve intermittent connectivity issues.
- Device Pairing Failures: When a smart device won’t pair with the Hub, ensure it’s compatible with the Cox Homelife system. Reset the device and attempt pairing again, keeping it close to the Hub during the process.
- App Glitches: If the Cox Homelife app is acting up, try clearing the app’s cache or reinstalling it. Ensure your smartphone’s operating system is up to date as well.
- Sensor Malfunctions: Sensors not responding as expected might need a battery replacement or a reset. Check their placement to ensure there’s no interference or obstructions.
- Camera Feed Issues: For problems with camera feeds, check your internet speed and bandwidth usage. High traffic on your network can affect the quality of video streaming. For detailed support and additional resources on your camera, visit cox.com/camera.
How to Access Cox Homelife Customer Support
- Through the App: The Cox Homelife app usually has a support or help section where you can find FAQs and contact options.
- Online Help Center: Visit the Cox Homelife support page on their website for a comprehensive list of FAQs, guides, and troubleshooting tips.
- Phone Support: Cox provides a customer support hotline. The number can be found on their website or through your account information in the app.
- Live Chat: For real-time assistance, use the live chat feature on the Cox website. It’s a quick way to get answers to simple queries.
- Community Forums: Cox’s community forums can be a goldmine for solutions, where you can find advice from other Cox Homelife users who might have faced and resolved similar issues.
Armed with these troubleshooting tips and support resources, you can confidently tackle most issues that come your way with your Cox Homelife Hub, ensuring a smooth and uninterrupted smart home experience.
See Also: How to Connect a TCL Roku TV to WiFi Without a Remote?
FAQs
How do I reset my Cox Homelife Hub?
To reset your Cox Homelife Hub, locate the reset button on the device. Press and hold it for about 10 seconds. The lights will flash, indicating it's resetting. Wait for it to reboot.
Can I control the Cox Homelife Hub with my smartphone?
Yes, you can control the Cox Homelife Hub using the Cox Homelife app available on both Android and iOS devices. This app allows you to manage settings, control connected devices, and receive alerts.
What devices are compatible with Cox Homelife Hub?
The Cox Homelife Hub is compatible with a wide range of smart home devices, including smart lights, thermostats, cameras, and sensors. Check the Cox website for a detailed list of compatible devices.
How do I add a new device to my Cox Homelife Hub?
To add a new device, open the Cox Homelife app, go to the 'Devices' section, and select 'Add Device'. Follow the on-screen instructions to pair the new device with your Hub.
What should I do if my Cox Homelife Hub is not connecting to WiFi?
If your Hub is not connecting to WiFi, check your router's settings and ensure your WiFi is working. Restart both the Hub and router, and try reconnecting. If issues persist, contact Cox support.
Conclusion
In the journey of transforming your house into a smart home, the Cox Homelife Hub stands as a pivotal element. Proper setup and understanding of this powerful tool are crucial. It’s not just about getting it out of the box and plugged in; it’s about integrating it seamlessly into your daily life, ensuring it works harmoniously with your other smart devices. This journey from setup to optimization is where the true magic of a smart home comes alive.
Remember, the initial setup is just the beginning. There’s a whole world of features, customizations, and integrations waiting for you to explore. Each additional step you take in learning and experimenting with your Cox Homelife Hub unlocks more potential, more convenience, and more security for your home. So, dive in, get your hands on the settings, tweak them to your liking, and watch as your home transforms into a more connected, efficient, and smart living space. The future of home management is in your hands, and it’s as exciting as it sounds!
See Also: How to Connect a Hisense TV to WiFi Without Remote: Guide
You can always find me with a cup of coffee Googling anything and everything related to the networking. Refer to our detailed How-To Guides on wifi routers and never face any issue with router again!