Imagine this: You’ve just purchased the Blink Sync Module, ready to elevate your home security to the next level. But there’s a catch – connecting it to your WiFi feels like deciphering an ancient code. Frustrating, right? You’re not alone. Many face this tech hurdle, feeling the tick of the clock as their home’s safety hangs in the balance. But fear not! The solution is simpler than you think.
How to Connect Blink Sync Module to WiFi? Open the Blink app and tap the ‘+’ icon. Select ‘Blink wireless camera system’ and scan the QR code on the Sync Module. Plug in the Module, wait for a solid green and blinking blue light, then follow the in-app instructions to connect it to your WiFi network. Simple, quick, and secure!
In this guide, we’ll walk you through the process step-by-step, transforming this daunting task into a walk in the park. Say goodbye to confusion and hello to a seamlessly connected, secure home.
See Also: How to Connect Bebird W3 to WiFi: Step-by-Step Instructions
Contents
Understanding the Blink Sync Module
What is the Blink Sync Module?
The Blink Sync Module is the cornerstone of your Blink camera system, acting as a bridge between your Blink cameras and the internet. Think of it as the maestro of an orchestra, ensuring each section plays in harmony. This compact yet powerful device connects to your home WiFi network, allowing your Blink cameras to communicate with the Blink app on your smartphone. It’s the unsung hero that works behind the scenes, making sure your home security system runs smoothly and efficiently.
Key Features: The Power Behind the Scenes
Efficient Battery Usage: One of the standout features of the Sync Module is its ability to help conserve the battery life of your Blink cameras. By handling the data transmission, it allows the cameras to sleep when not in use, significantly extending their battery life. This means less maintenance and more peace of mind for you.
Local Storage Option: In an era where cloud storage reigns supreme, the Sync Module offers a refreshing twist – the ability to store video clips locally via a USB flash drive. This feature is a boon for those concerned about privacy or those who prefer a physical backup of their data.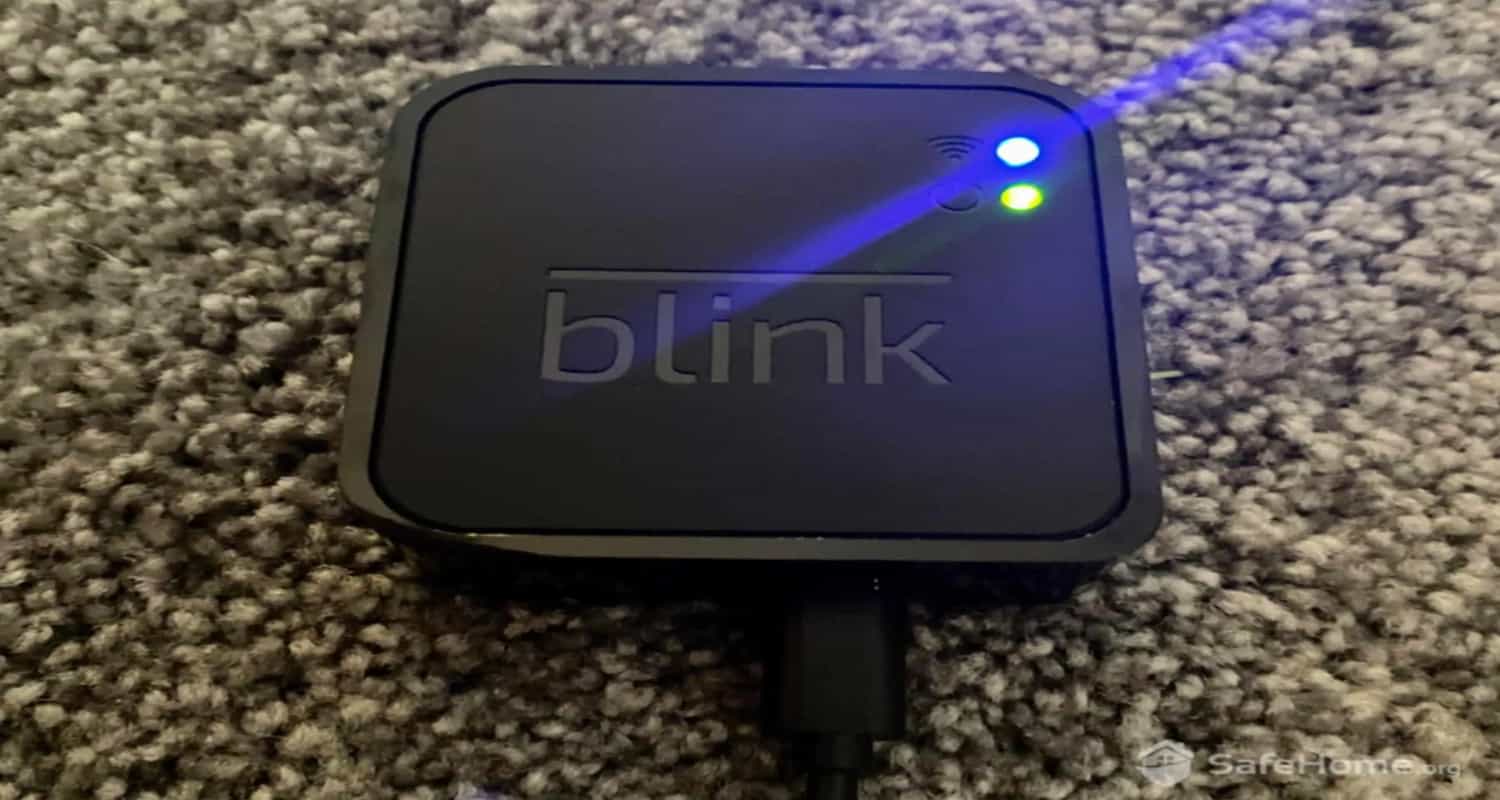 Seamless Integration: The Sync Module is designed to work effortlessly with multiple Blink cameras. It supports up to 10 Blink devices, enabling you to create a comprehensive surveillance system that covers every nook and cranny of your home.
Enhanced Connectivity: Stability is key in home security, and the Sync Module delivers just that. It ensures a stable connection between your cameras and the internet, reducing the chances of losing connection at critical moments.
Easy Setup and Control: The true beauty of the Sync Module lies in its simplicity. The setup is straightforward, and once it’s up and running, you can control your entire Blink system through the intuitive Blink app – from viewing live feeds to adjusting camera settings.
How it Enhances Your Blink System
The Blink Sync Module is not just an accessory; it’s an essential component that elevates your home security system. By optimizing battery life, offering local storage, and ensuring stable connectivity, it enhances the overall efficiency and effectiveness of your Blink cameras. It’s the difference between a good home security system and a great one. With the Sync Module, you’re not just installing cameras; you’re building a robust, reliable, and responsive security network for your home.
See Also: How to Connect Alexa to Bluetooth Speaker Without WiFi?
Preparing for Setup
If you’re searching for “blink how to change the wifi,” the solution is straightforward. Before diving into the setup of your Blink Sync Module, it’s crucial to ensure that your foundational tools – your WiFi network and mobile device – are up to the task. This preparation is like laying the groundwork for a fortress; it’s essential for ensuring that your home security system functions flawlessly.
Ensuring Your WiFi is Up to Par
The Right Frequency Band: The Blink Sync Module requires a WiFi network operating on the 2.4 GHz band. Why 2.4 GHz, you ask? It’s all about balance. This frequency band strikes a perfect harmony between range and bandwidth, offering wider coverage which is ideal for most home layouts. So, check your router settings and make sure it’s set to 2.4 GHz, not just the faster 5 GHz band.
Speed Matters: Speed isn’t just for race cars; your WiFi needs it too! A minimum upload speed of 2 Mbps is essential for the Blink system to work effectively. This speed ensures that your video feeds are smooth and uninterrupted. You can easily check your internet speed using various online tools – it’s a quick step that can save you a lot of headaches later.
Mobile Device Compatibility: Your Control Center
The Blink App: Your smartphone or tablet is the command center for your Blink system, and it all revolves around the Blink app. This app is your remote control, allowing you to view live feeds, receive alerts, and customize settings.
Compatibility Check: To avoid any compatibility surprises, ensure your device is compatible with the Blink app. The app generally supports iOS and Android devices, but it’s always wise to check the specific requirements. For iOS users, this typically means having a recent version of iOS installed. Android users should ensure their device runs on a relatively current version of the Android OS.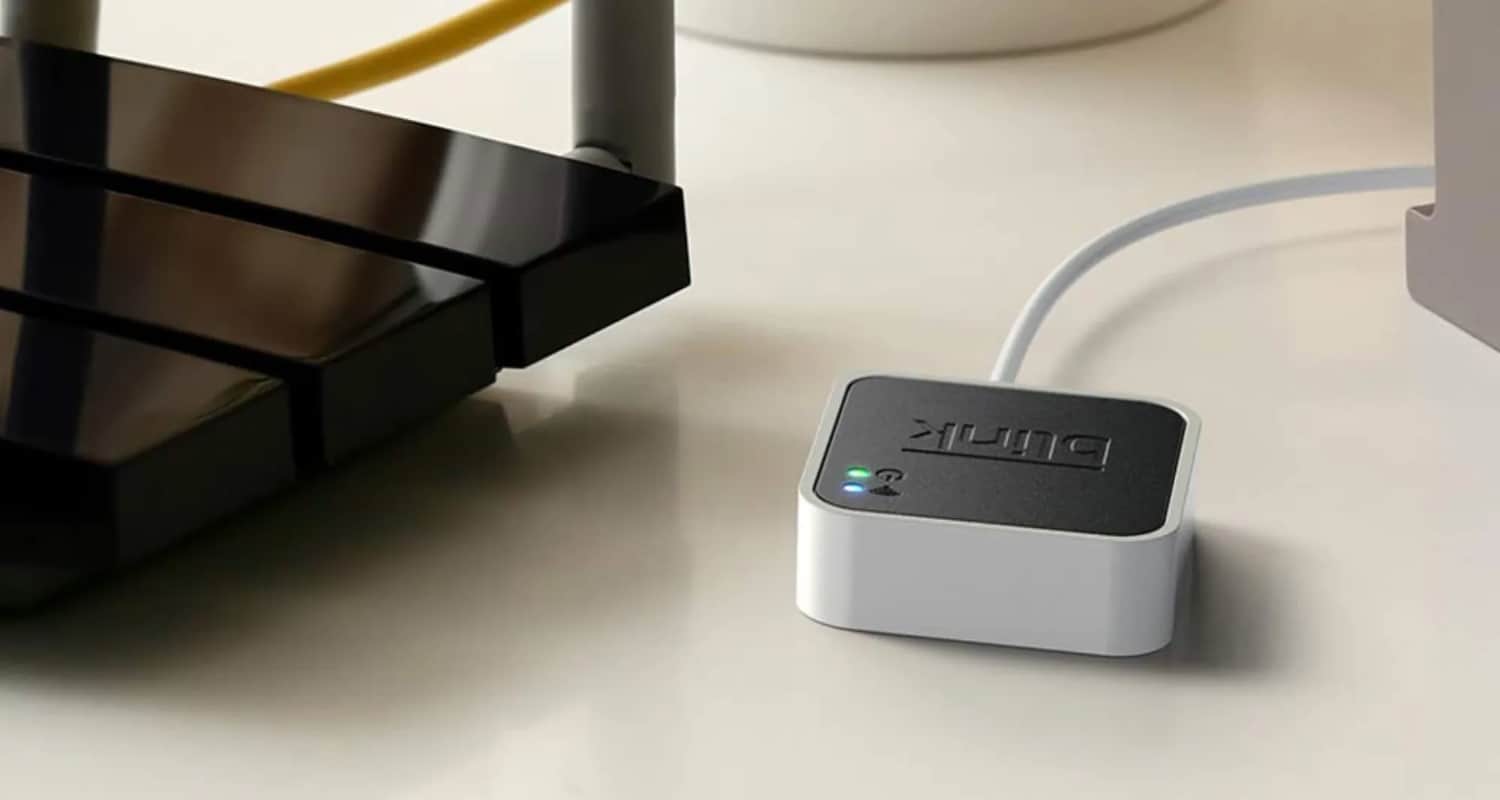
By ensuring your WiFi and mobile device are ready and raring to go, you’re setting the stage for a smooth and successful Blink Sync Module setup. It’s about making sure your tools are as ready as you are to embark on this journey towards a more secure home.
See Also: How to Connect AiWit Doorbell to WiFi: Comprehensive Tutorial
Step-by-Step Guide to Connecting the Sync Module to WiFi
If you’re asking, “How do I change the wifi on my blink camera?” the process is simple. Embarking on the journey of connecting your Blink Sync Module to WiFi is like setting up a new gadget – a mix of excitement and a bit of apprehension. But fear not! This step-by-step guide will make the process as smooth as butter on toast.
Step 1: Downloading and Opening the Blink App
First Things First: Begin by downloading the Blink app from the App Store or Google Play Store. It’s your gateway to controlling your Blink system.
Open Sesame: Once installed, open the app. You’ll be greeted by a user-friendly interface that’s as welcoming as a warm cup of coffee on a cold morning.
Step 2: Creating or Logging into Your Blink Account
New to Blink? Create an Account: If you’re a newcomer to the Blink family, you’ll need to create an account. Tap on the ‘Create Account’ option and follow the prompts. It’s like setting up a new social media account – straightforward and quick.
Already a Blink User? Log In: If you already have a Blink account, simply log in with your credentials. It’s like coming home after a long day – familiar and comforting.
Step 3: Adding the Sync Module to Your Blink System
The Heart of the Operation: Now, it’s time to add your Sync Module to the Blink system. In the Blink app, tap on the ‘+’ icon to add a new device.
Scan and Go: You’ll be prompted to scan the QR code on the back of the Sync Module. This is like the secret handshake that introduces your Sync Module to the app.
Step 4: Connecting the Sync Module to Your WiFi Network
If you’re wondering, “How do I change WiFi on the Blink?” the process is user-friendly.
Plug It In: Connect your Sync Module to power and wait for it to boot up. You’re looking for a solid green light and a blinking blue light – the universal sign of ‘ready to connect.’
WiFi Time: In the app, select your WiFi network and enter the password. It’s like giving your Sync Module the key to your digital kingdom.
Final Touches: Follow the remaining in-app instructions to complete the connection. It’s a bit like following a recipe – each step is crucial to the final outcome.
Changing WiFi Settings: If you ever need to change your Blink camera’s WiFi network, the process is straightforward. In the Blink app, access each camera’s settings to update the WiFi network. This is particularly useful if you switch to a new router or change your network’s name or password. It ensures your Blink cameras stay seamlessly connected to your home network.
Step 5: Troubleshooting Common Connection Issues
The Green and Blue Light Dance: If you don’t see the solid green and blinking blue lights, it’s time for a bit of troubleshooting. Start by checking your power source and ensuring the Sync Module is properly plugged in.
WiFi Woes: If the Sync Module struggles to connect to your WiFi, double-check your network settings. Remember, it needs a 2.4 GHz WiFi network. It’s like finding the right frequency on a radio.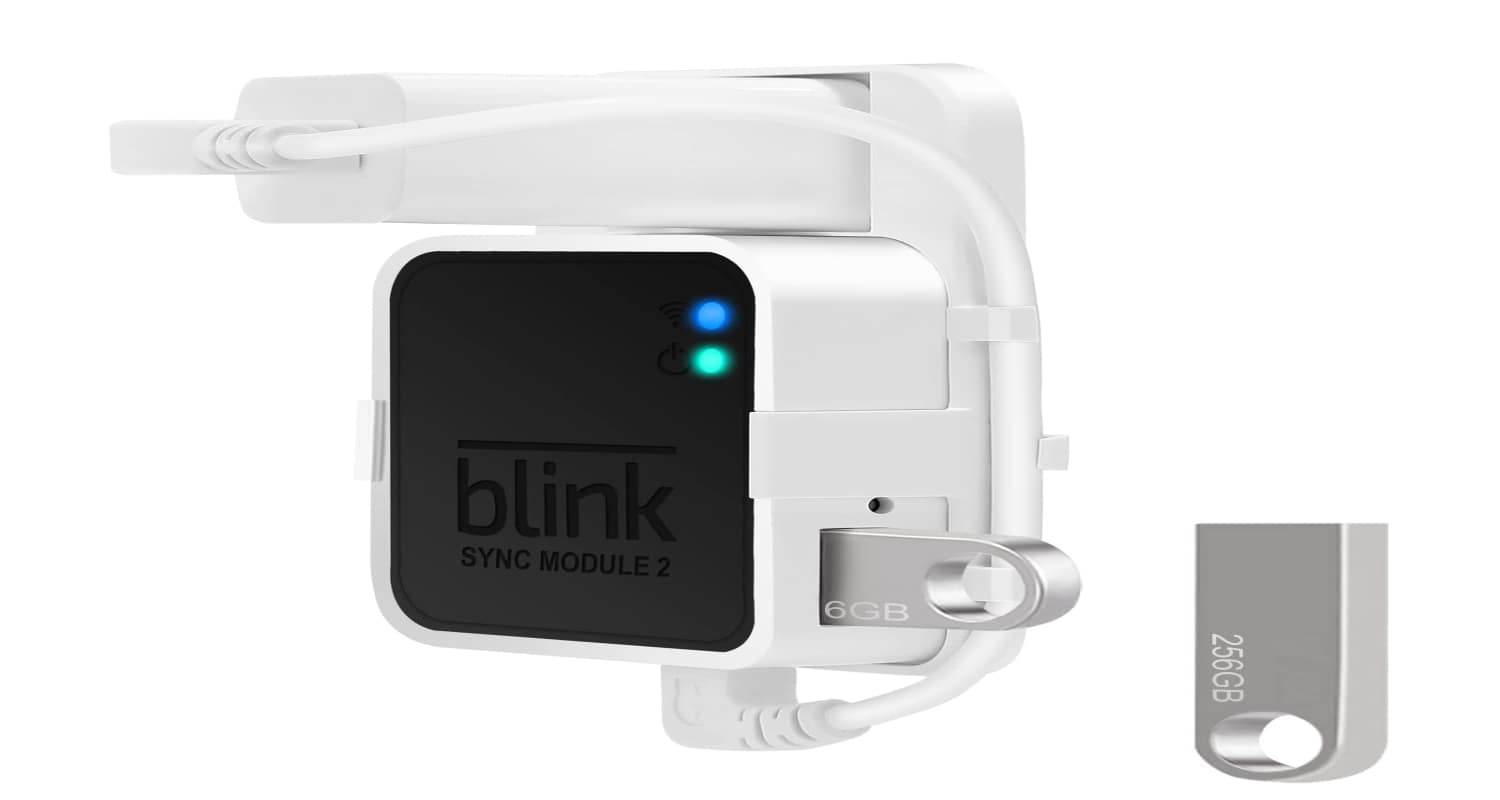
Reset and Retry: Sometimes, a simple reset can work wonders. Unplug the Sync Module, wait a few seconds, and plug it back in. It’s the tech equivalent of a deep breath.
App Assistance: If all else fails, the Blink app has a trove of troubleshooting tips. Dive into the ‘Help’ section for guidance, like a detective looking for clues.
By following these steps, you’ll have your Blink Sync Module connected to WiFi in no time. It’s a journey, but like all good journeys, the destination – a fully functional, connected home security system – is well worth it.
See Also: How to Connect a TCL Roku TV to WiFi Without a Remote?
Advanced Tips and Tricks
Wondering about “how to set up Blink camera to new wifi”? It’s a breeze. When you change your WiFi network, simply update the network details for each camera in the Blink app. This ensures that your cameras are always connected to the correct network, providing uninterrupted security coverage.
After setting up your Blink Sync Module, it’s time to dive into the nitty-gritty of optimizing your system. These advanced tips and tricks are like the secret sauce that can take your Blink experience from good to great.
Optimizing WiFi Signal Strength for the Sync Module
Location, Location, Location: The placement of your Sync Module can make a world of difference. Ideally, it should be centrally located, minimizing the distance to both your WiFi router and Blink cameras. Think of it as the hub in a wheel, where all spokes (cameras) are equally accessible.
Avoid Obstacles: Walls, large metal objects, and electronic devices can interfere with WiFi signals. Place your Sync Module away from these potential signal blockers, much like finding a clear path in a crowded room.
Elevate Your Setup: Sometimes, a simple elevation of your Sync Module or router can enhance signal strength. It’s like rising above the noise in a busy environment.
Using Extenders with Blink Cameras
Extending Your Reach: If your home is large or has multiple floors, WiFi extenders can be a game-changer. They amplify your WiFi signal, ensuring that even the furthest camera stays connected.
Strategic Placement: Place extenders halfway between your router and the furthest Blink camera. It’s like building bridges across your home to keep every corner connected.
Compatibility Check: Ensure that your extenders are compatible with the 2.4 GHz band, as this is what your Blink system uses. It’s about speaking the same language as your devices.
Ensuring Long-Term Connectivity and Stability
Regular Updates: Keep your Blink app and firmware up to date. These updates often include performance improvements and bug fixes, much like tuning your car for a smoother ride.
Power Stability: Ensure your Sync Module’s power source is reliable. Power fluctuations can disrupt connectivity, so consider using a surge protector as a safeguard.
Network Checkups: Periodically check your WiFi network’s health. Tools like WiFi analyzers can help you understand signal strength throughout your home, allowing for informed adjustments.
Reboot Routine: Occasionally rebooting your Sync Module and router can prevent connectivity issues. It’s like giving your devices a fresh start, clearing out any lingering bugs or glitches.
By implementing these advanced tips, you’ll not only enhance the performance of your Blink system but also ensure its long-term reliability. It’s about taking proactive steps today to avoid potential headaches tomorrow.
See Also: How to Connect a Hisense TV to WiFi Without Remote: Guide
Part 6: User Experiences and Solutions
Diving into the world of user experiences and solutions is like tapping into a goldmine of practical, real-world knowledge. Here, we explore some common problems and ingenious solutions shared by users, particularly from vibrant communities like Reddit and Blink forums.
Real-Life Problem: Sync Module Not Recognizing WiFi
User Experience: A common issue shared on forums is the Sync Module failing to recognize the WiFi network, even when other devices have no trouble connecting.
Community Solution: Users suggest rebooting both the Sync Module and the router. If that doesn’t work, temporarily disabling the router’s firewall during the setup process can sometimes do the trick. It’s a bit like temporarily lowering a drawbridge to let the good guys in.
Problem: Cameras Losing Connection to Sync Module
User Experience: Some users report their cameras sporadically losing connection to the Sync Module, causing gaps in surveillance.
Community Solution: The Blink community often recommends checking for physical obstructions or distance issues. Repositioning the Sync Module or camera to ensure a clear line of sight can resolve this. It’s akin to adjusting antennas for better TV reception in the old days.
Problem: Sync Module Offline After Power Outage
User Experience: A frequent frustration arises when the Sync Module goes offline after a power outage and doesn’t automatically reconnect.
Community Solution: Users have found success by manually rebooting the Sync Module after power is restored. Additionally, investing in an Uninterruptible Power Supply (UPS) can keep the Sync Module running during short outages, much like a generator during a storm.
Blink Community Tips
Stay Informed: Regularly visiting Blink community forums and Reddit threads can provide a wealth of tips and tricks. It’s like having a roundtable discussion with a group of experts.
Share Your Experiences: Don’t hesitate to share your challenges and solutions. Your unique experience could be the exact answer someone else is looking for.
By engaging with and learning from the experiences of other users, you not only solve your immediate problems but also arm yourself with knowledge for future challenges. It’s a testament to the power of community in navigating the ever-evolving world of home security technology.
See Also: Ways to Check Browsing History on WiFi Router Xfinity
FAQs
Can the Blink Sync Module connect to a 5 GHz WiFi network?
No, the Blink Sync Module is designed to connect only to 2.4 GHz WiFi networks. This frequency offers better range, which is ideal for home security systems.
How many Blink cameras can one Sync Module support?
A single Blink Sync Module can support up to 10 Blink cameras, allowing for a comprehensive home security setup.
What should I do if my Blink Sync Module goes offline?
First, check your WiFi signal strength and router's functionality. If these are fine, try rebooting the Sync Module and your router. If the issue persists, a factory reset of the Sync Module may be necessary.
Can I use a WiFi extender with my Blink Sync Module?
Yes, WiFi extenders are compatible with the Blink Sync Module and can be used to enhance the WiFi signal strength, especially in larger homes.
How do I update my Blink Sync Module?
Updates for the Blink Sync Module are handled through the Blink app. Ensure your app is up to date, and it will automatically prompt you when a firmware update for the Sync Module is available.
Conclusion
In our journey to connect and optimize the Blink Sync Module, we’ve navigated through a series of steps, each crucial in fortifying the backbone of your home security system. From ensuring your WiFi and mobile device are primed for setup, to the actual connection process, and then diving into advanced tips for optimal performance – every step is a building block towards a more secure and efficient home surveillance system.
Remember, the Blink Sync Module is more than just a gadget; it’s the central hub that orchestrates the harmony between your Blink cameras and your digital world. By following these guidelines, you’re not just setting up a device; you’re laying the foundation for peace of mind and safety in your home.
But this journey isn’t just about following steps; it’s about learning, adapting, and sharing. Your experiences, challenges, and solutions add invaluable chapters to this ongoing story. So, we encourage you to share your insights and tips in forums, or even in the comments below. Your unique perspective could be the guiding light for someone else in the Blink community.
Together, let’s continue to build a network of knowledge and support, making our homes not just connected, but also secure and smart.
See Also: How to Change WiFi to 2.4GHz on Android: Essential Guide

Srivatsa is a prolific writer who spearheads the core writing team on tech news, buying guides, reviews, and all gadget articles. He is passionate about technology.