You’ve just unboxed your brand-new Geeni camera, and the excitement is palpable. But there’s a tiny hiccup: connecting it to WiFi feels like deciphering an ancient code. Every moment your camera sits unconnected, you’re missing out on potential memories or security footage.
To connect your Geeni camera to WiFi, turn on the camera and ensure it’s in setup mode. Open the Geeni app, select your camera model, and follow the in-app instructions to establish a WiFi connection. Voilà! Your camera is now online.
The clock is ticking, and the frustration is mounting. But what if I told you there’s a straightforward solution to this modern-day conundrum? Stick around, and I’ll unveil the magic behind a seamless Geeni camera-WiFi connection.
See Also: How Do I Connect My Canon MG2522 Printer to WiFi?
Contents
Understanding the Geeni Camera
Ah, the Geeni camera! It’s not just another piece of tech; it’s a testament to how far we’ve come in the realm of home security and smart technology. Let’s dive in, shall we?
A Brief History and Evolution of Geeni Cameras
Back in the day, security cameras were bulky, expensive, and, let’s face it, not the most user-friendly. Enter Geeni, a game-changer in the world of smart cameras. Over the years, Geeni has evolved, adapting to the ever-changing tech landscape and ensuring that their cameras aren’t just smart but also intuitive and accessible.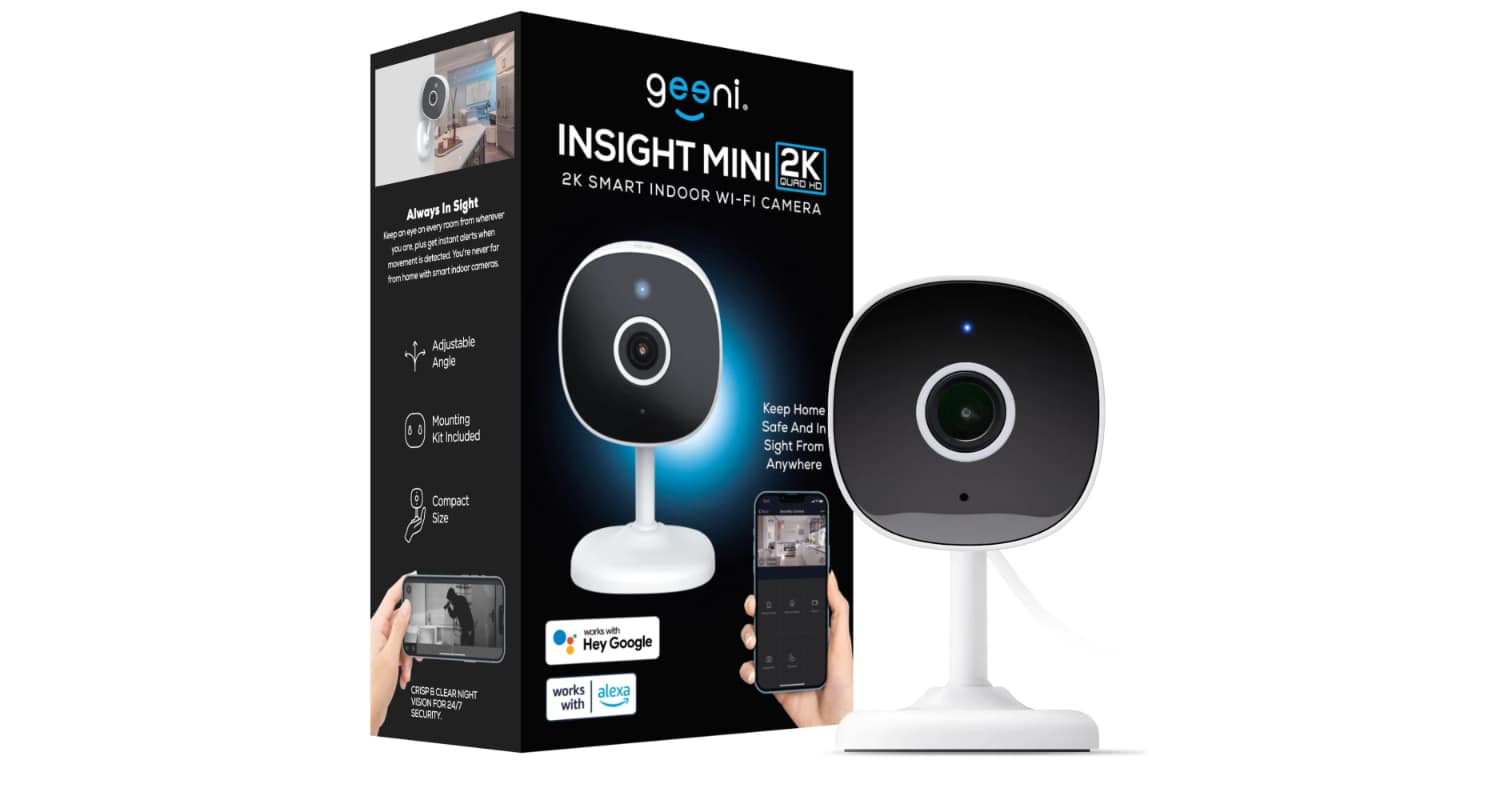
Different Models and Their Unique Features
Geeni’s lineup boasts a variety of models, each tailored to specific needs. Whether you’re looking for a camera with night vision capabilities, two-way audio, or one that seamlessly integrates with other smart home devices, Geeni has got you covered. And the best part? Each model comes packed with features that make monitoring your space a breeze, ensuring you’re always in the know, no matter where you are.
Preparation Steps Before Connection
Before we jump into the nitty-gritty of connecting your Geeni camera, let’s set the stage for success. Think of it as prepping for a grand performance; every detail counts!
Ensuring Your WiFi is Stable and Has a Good Signal
First things first, your WiFi. It’s the unsung hero in this tale. A shaky WiFi connection is like trying to build a sandcastle during high tide – it’s bound to crumble. So, give your router a quick check. Is it positioned optimally? Are there too many devices connected? A strong, stable signal is your golden ticket here.
Checking the Camera’s Battery or Power Source
Next up, your Geeni camera’s lifeline: its power source. Whether it’s battery-operated or plugged in, ensure it’s fully charged or connected to a reliable power outlet. After all, you wouldn’t want your camera dozing off mid-setup, right?
See Also: How Do I Change WiFi On Feit App: Quick and Easy Tips
Step-by-Step Guide on How to Connect Geeni Camera to WiFi
Alright, folks, it’s showtime! Connecting your Geeni camera to WiFi might seem like a daunting task, but with a pinch of patience and a dash of determination, you’ll be up and running in no time. Let’s break it down, step by step.
1. Turning on the Camera and Ensuring It’s in Setup Mode
Kick things off by powering up your Geeni camera. Look for any indicators or lights that signal it’s on. Now, here’s the crucial part: ensuring it’s in setup mode. This mode is like the camera’s way of saying, “Hey, I’m ready to connect!” Typically, you might hear a beep or see a blinking light. If not, a quick glance at the manual should give you the lowdown.
2. Accessing the Geeni App and Selecting the Camera Model
With your camera raring to go, it’s time to bring in the main player: the Geeni app. Whip out your smartphone or tablet and fire up the app. If you’re a first-timer, you might need to sign up or log in. Once in, look for an option to add a new device and select your camera model from the list. It’s like introducing your camera to the digital world!
3. Following the In-App Instructions for WiFi Connection
Now, the final stretch! The Geeni app will guide you through the WiFi connection process. It’s like having a tech-savvy friend whispering instructions in your ear. Simply follow the prompts, input your WiFi details, and let the magic happen. Before you know it, your Geeni camera will be online, streaming, and keeping an eye out, all thanks to your stellar setup skills.
See Also: Does Subaru WiFi Work When Car Is Off? Know It All
Troubleshooting Common Connection Issues
Ah, technology! As marvellous as it is, there are days when it feels like it has a mind of its own. But fret not, dear reader. If your Geeni camera is playing hard to get with your WiFi, I’ve got your back. Let’s channel our inner tech wizards and troubleshoot some common connection hiccups.
1. How to Change WiFi on the Geeni App or How to Reconnect the Geeni Camera to WiFi
How to Change WiFi on the Geeni Camera? So, you’ve followed the steps, but your camera’s giving you the cold shoulder? Don’t despair! First, double-check if both your camera and router are powered on and within range of each other. Sometimes, a simple restart of both devices can work wonders. If that doesn’t do the trick, ensure your WiFi credentials are correctly entered. Remember, passwords are case-sensitive. And if all else fails, take a deep breath, channel some Julia Evans energy, and give it another go. Persistence is key!
2. Solutions for Common Error Messages
Stumbling upon error messages can be a tad intimidating. But they’re just your camera’s way of communicating what’s amiss. Here are some common culprits:
- “Connection Timeout”: This usually means the camera took too long to connect. Ensure you’re close to the router and that there aren’t too many devices hogging the bandwidth.
- “Incorrect Password”: A classic! Double-check your WiFi password and ensure you’re connecting to the right network.
- “Device Offline”: This could indicate a power issue. Ensure your camera’s power source is stable and that it’s not in sleep mode.
Remember, every problem has a solution. And with a sprinkle of patience and a dash of determination, your Geeni camera will be online in no time!
See Also: Dinosaur Game: When There Is No WiFi
Optimizing Camera Performance Post-Connection
Hooray! Your Geeni camera is now connected. But wait, our journey doesn’t end here. It’s like baking a cake; connecting is just prepping the batter and optimization. That’s the icing on top. Let’s ensure your camera isn’t just working but working at its absolute best.
1. Adjusting Camera Settings for Optimal Video Quality
Dive into the Geeni app and explore the camera settings. You’ll find options to adjust the resolution, brightness, contrast, and more. Want crystal clear footage during the day? Amp up the resolution. Need to capture details in low light? Tweak the brightness and contrast. Remember, it’s all about finding that sweet spot that suits your space and lighting conditions.
2. Ensuring a Stable Internet Connection for Uninterrupted Streaming
Your camera’s performance is only as good as your internet connection. Think of it as a dance duo; both need to be in sync for a flawless performance. Regularly check your WiFi signal strength. If it’s weak, consider moving the router closer to the camera or investing in a WiFi extender. And hey, it’s a good idea to keep an eye on the number of devices connected to your network. Too many devices can slow things down, making your camera’s stream stutter.
See Also: Top Doctor Who WiFi Name: A Complete Guide
Safety and Security Tips
In the digital age, while our devices make life incredibly convenient, they also open doors to potential vulnerabilities. But fear not! With a sprinkle of caution and a dash of awareness, you can ensure your Geeni camera is not just smart but also secure.
1. Importance of Regularly Updating Camera Firmware
Think of firmware updates as your camera’s health check-ups. They patch up vulnerabilities, enhance performance, and sometimes introduce nifty new features. Regular updates ensure your camera is equipped to fend off potential threats and function at its best.
2. Setting Strong Passwords and Enabling Two-Factor Authentication
Your camera’s password is its first line of defence. Opt for a robust, unique password that’s a mix of letters, numbers, and symbols. And for an added layer of security, enable two-factor authentication. It’s like having a double lock on your front door; even if someone cracks the password, they’d need a second verification to get in.
FAQs
How can I change my Wi-Fi network or pair my camera with a new network?
To change the Wi-Fi on your Geeni camera, hold down the camera’s reset button for at least 10 seconds. Once reset, the camera will indicate it's ready to pair. Ensure your mobile device is connected to the new Wi-Fi Network, then go to 'Devices' in the Geeni app and follow the prompts to re-pair your camera.
Why is there no sound while viewing my camera’s live stream?
There could be multiple reasons for no sound during live streaming, including muted volume, hardware issues, or app settings. Ensure your volume is turned up, and check the app's audio settings.
Why is my camera not pairing?
s my camera not pairing? Ensure your camera is in setup mode and that you're following the correct pairing procedure. Check the camera's power source and ensure your mobile device is connected to the correct Wi-Fi network.
Why is my Merkury Cam by Geeni App no longer working properly?
App issues can arise due to outdated versions, cache problems, or device compatibility. Ensure you have the latest version of the app, clear the cache if needed, and check for device compatibility.
Why am I not getting any live video feed from my camera?
This could be due to connectivity issues, camera power problems, or app glitches. Ensure your camera is powered on, connected to Wi-Fi, and the app has the necessary permissions.
Conclusion
And there we have it! Connecting your Geeni camera to WiFi is more than just a tech task; it’s a step towards smarter living. By now, you’ve not only mastered the art of connection but also dived deep into optimization and security. But remember, this is just the beginning. Your Geeni camera is packed with advanced features waiting to be explored. So, go on, dive in, and discover the full potential of your smart companion.
See Also: How Does A Portable WiFi Router Work?

Matt (Twitter) is IP Router Login’s Senior Computing editor. Having written for a number of publications such as PC Plus, PC Format, T3 and Linux Format, there’s no aspect of technology that Matt isn’t passionate about, especially computing and PC gaming.