One of the familiar sequences of numbers out from the hat, known fondly as an IP address, as there are certain aspects of these, that need some covering up, and we’ll do that as we go on with this article. The one we’re going to try to comprehend today is “192.168.1.3”.
As you should be capable of recalling by now, with the IP addresses, the first half part makes up the network address, and the latter(last two from right), makes up the address of the host user.
See Also: How to Find Default Router Gateway in Mac OS, Windows, Android and Chrome OS
Contents
Who Does The Allocation And How?
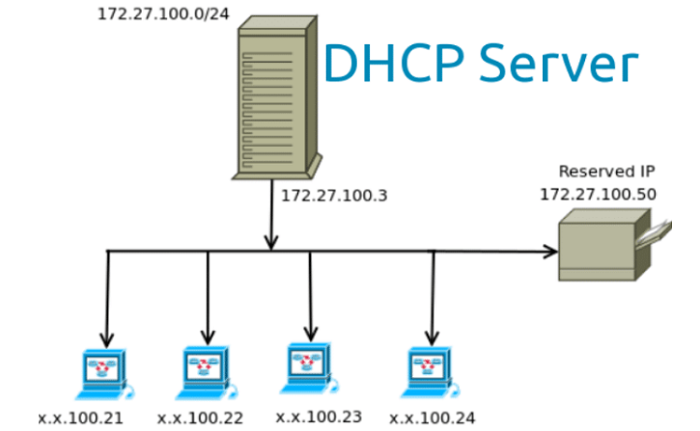
That is the million-dollar question. We can do it in two ways, that is, automatically or manually. The first one is done by a protocol, coined as DHCP, short for Dynamic Host Configuration Protocol, one that is designed specifically for this purpose. It is free of human interference.
You know, if you try to break it up, it refers to dynamically configuring the host, precisely what I’m explaining to you here.
The second method is the contrasting one. Herein, you have to do everything with your own hands. It’s the static method. The addresses allocated using it do not undergo alterations.
Getting Back To 192.168.1.3 And Discussing It At Length
The address at the center of our discussion for the occasion is 192.168.1.3, which is pretty obviously a private IP address. Being an individual address, means it is in use privately within a particular boundary, like within the premises of an institution/organization.
It comes under the limit that extends from 192.168.0.0 up until both the zeros become 255. It is another family reserved to utilize as a private address. The prodigious 192.168.1.3 is a member of the C-class of IPv4 address classes. 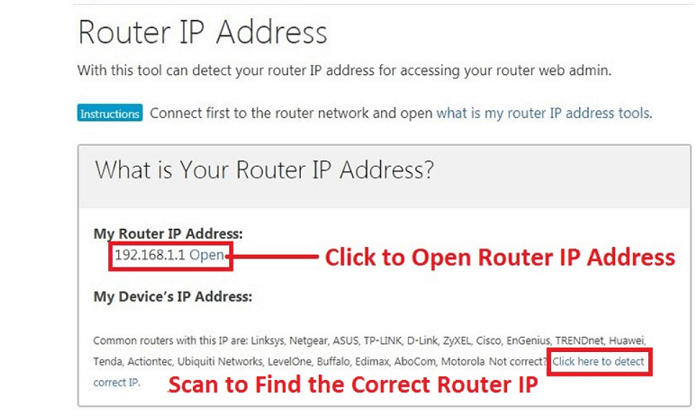
By aiding this IP address, you can get into the panel of internal settings of your router, taking control of your machine in your hand. Wouldn’t you like that? I know I would.
Look Out For These Mistakes
While you’re attending to 192.168.1.3, there are some common mistakes that you’d like to go over. We all make inevitable mistakes, so it is always better to know.
Most of us tend to place a comma, a semi-colon, or a colon instead of the regular dot. Not only that, but sometimes, you can end up skipping the dot altogether, thus combining digits. Also, www.192.168.1.3 will lead you to Google searches for this IP address.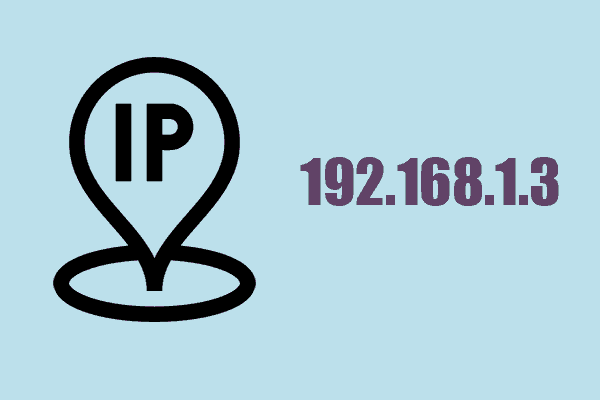
Another mistake is writing a lowercase l instead of a digit one, for instance, https//192.168.l.3 or 192.168.l.3, and realizing it later. Type it with your eyes on the screen, minding what you type with your fingers, and you’ll be just okay.
See Also: How to Troubleshoot Router | Top 5 Solutions
Why Is All The Fuss About Getting Into The Settings?
Earlier, we talked about how you could quickly get into your router’s portion where the settings are locked in, but why is it so urgent and significant to do so?
Because with the up-rise of technology, systems are not the only ones getting smarter. The intruders and hackers are becoming crafty as well and are not lagging very far behind. They regularly devise new methods to bypass all security measures.
To try and continue to be ahead of them in the race, we have to keep making our security walls higher and higher to be safe, as the world is full of dangers.
See Also: Everything About Netgear Router Login [Updated 2019]
Taking Help Of 192.168.1.3 And Entering The Internal Settings Panel
Having dealt with all the theoretical parts, I will tell you how you can practically get to the settings portion, and that is to use 192.168.1.3 login admin; let us make no further ado and get started.
What works these days without the internet? Nothing. It is the same with this procedure. So before beginning, ensure the stability of your internet connection. It is of no use if the speed is continuously fluctuating.
Also, it doesn’t matter what type of network you own, just that both parties should have a strong connection before we start and try to achieve what we want. Now, there are very straightforward steps that are going to follow:
- To get to the destination, you need to request its delivery to you. Putting it simply, you’ll have to type what you want in the browser. It can be any one of your preferences. In this case, in the address bar, we’re going to type http://192.168.1.3.
- Hit enter or go(at the corner of the bar), and wait.
- After the successful login of 192.168.1.3, you’ll witness a page in front of you, which will have a form you’re supposed to fill in. It has to have your details/credentials.
- After entering them correctly, click whatever button they’ve embedded in the form.
- The next step will have you where you’ve been trying to get, which is the webpage that has all the settings and configuration there possibly are. Here you can tweak about and alter with any settings you want to.
See Also: Everything About Time Warner Router Login [Updated 2023]
Making Sure Forgetfulness Can’t Get The Better of You
The last thing you should know before I conclude is what happens if, owing to our habitual forgetfulness, we end up losing our credentials. How do you proceed then?
You can search over the internet, using your model details, and get details that may match. Also, you may try the default ones, as they always have their place at the back of the packaging. You may alternatively want to scour the guide.
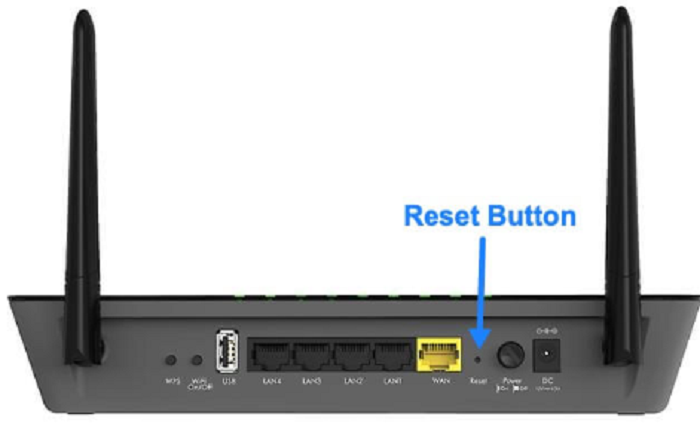
If nothing can get you desirable results, there is always one option that bounds to work: the good old reset, then use the default credentials. The reset tool is at the back of the hardware, and it is too small, so you might want to use something to apply pressure to complete the reset process.
See Also : 192.168.0.254 Admin Login, Password, and IP [Complete Guide]
FAQs
What is my IP address Wi-Fi?
Swipe down from the top of your screen to access the menu. Tap ‘Internet’ to enter the Internet settings. Select your Wi-Fi network from the available options and tap the gear icon to the right. Scroll down the settings menu to find your router's IP address next to ‘Gateway.’
What is the IP on my phone?
On your Android smartphone or tablet, initiate the process by accessing the ‘Settings.’ Within the settings menu, precisely navigate to ‘Wireless & Networks’ or, for Pixel devices, ‘Network & Internet.’ Now, select the Wi-Fi network that your device is currently connected to. Your IP address will be prominently displayed alongside other essential network information.
How to find a private IP address?
On your Android device, start by selecting ‘Settings.’ Within the settings menu, scroll down to locate and tap ‘About.’ In the ‘About’ section, actively tap on ‘Status.’ Your IP address will be immediately visible within this section.
Can I change my IP address?
Access your device's settings and actively select ‘Wi-Fi.’ Locate your current network and tap the settings icon next to it. Proceed to ‘IP settings’ and choose the option labeled ‘Static.’ Enter your desired new IP address into the provided field.
Conclusion
That was all about IP 192.168 1.3. I have explained and covered up everything necessary, so you can refer to this without any worries and be at ease with this topic or similar ones.
Feel free to surf through our site for more such content. And don’t forget to drop down your views in the comments box below!
You can always find me with a cup of coffee Googling anything and everything related to the networking. Refer to our detailed How-To Guides on wifi routers and never face any issue with router again!